JoeV
Dough Boy
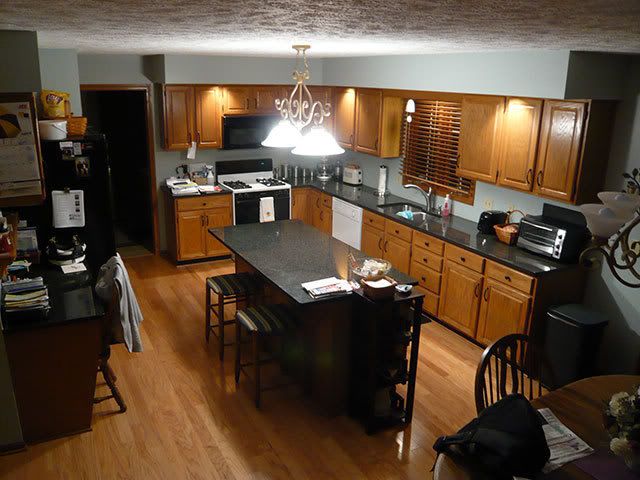
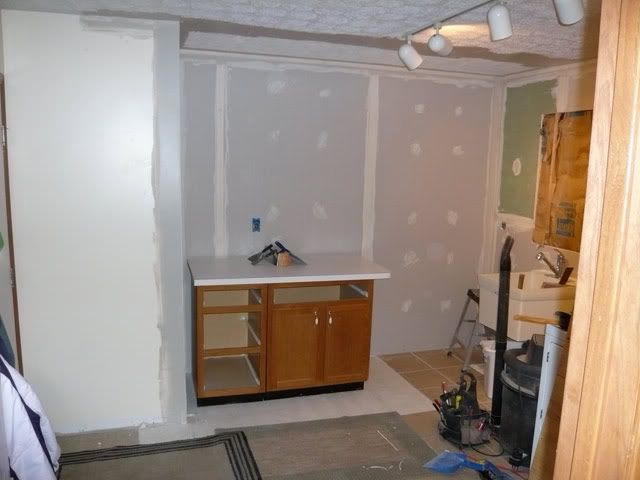
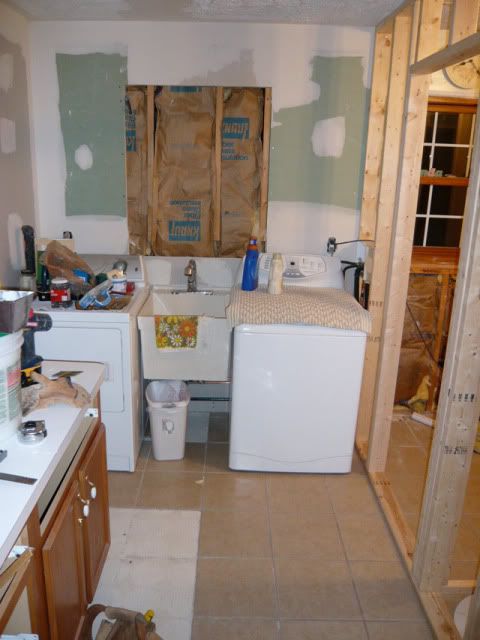
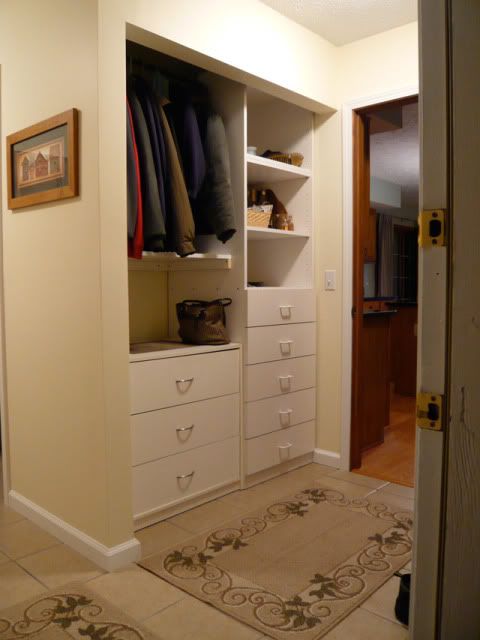
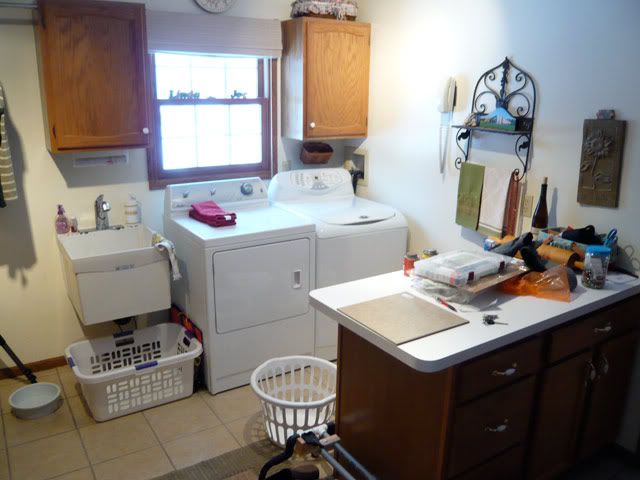
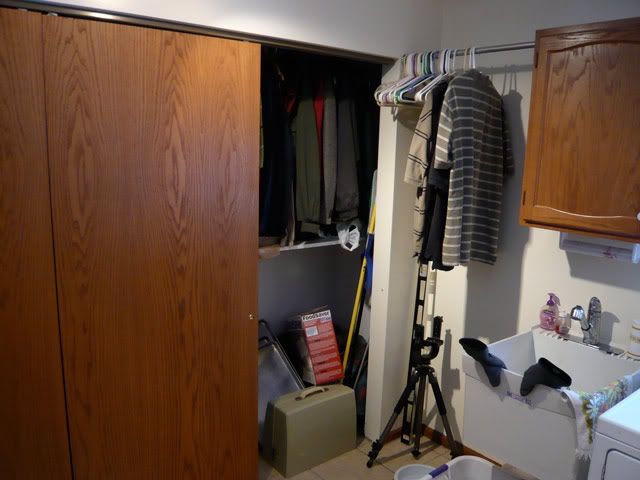
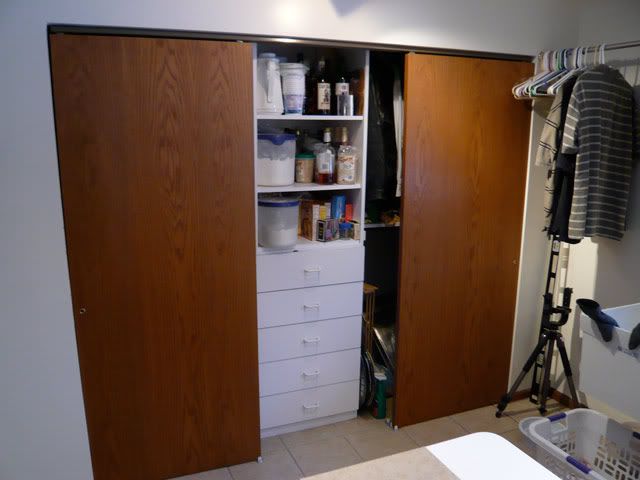
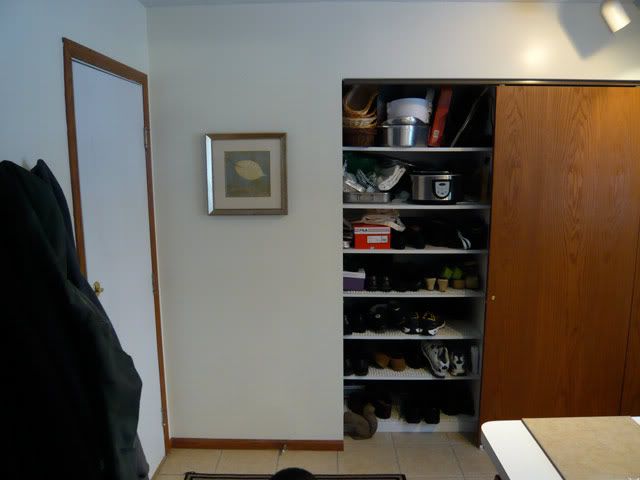
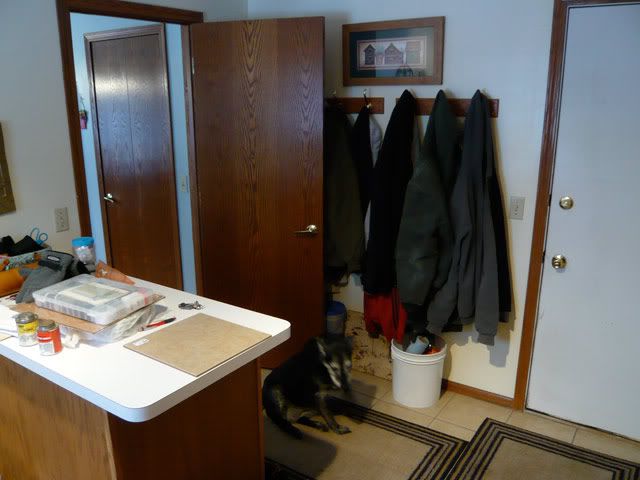
From the day we moved into this house almost 18 years ago, we found that there were two rooms that did not work well for us..the laundry room and the half bath. I fixed the laundry room by taking 5 feet from the garage storage area and building in 9 feet of closet space with custom built storage units. I also added 4 feet of base cabinets for storage and an oversized countertoptop for folding clothes. That fixed that situation, and we had the proper storage needed for three kids and all their "stuff." Here's what that looks like right now after I completed it.
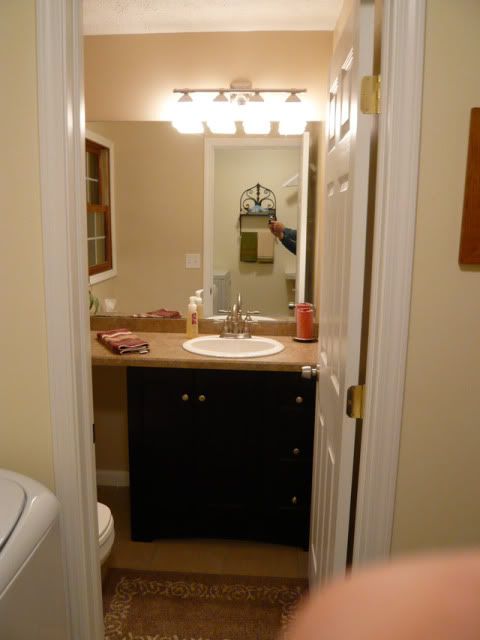
The half bath is situated between the kitchen and dining room, and it's smack dab in the middle of where everyone has always congregated. It could not be in a worse place, IMO.
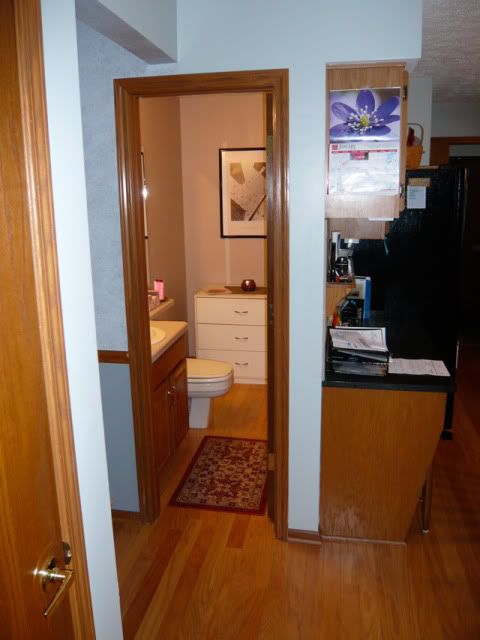
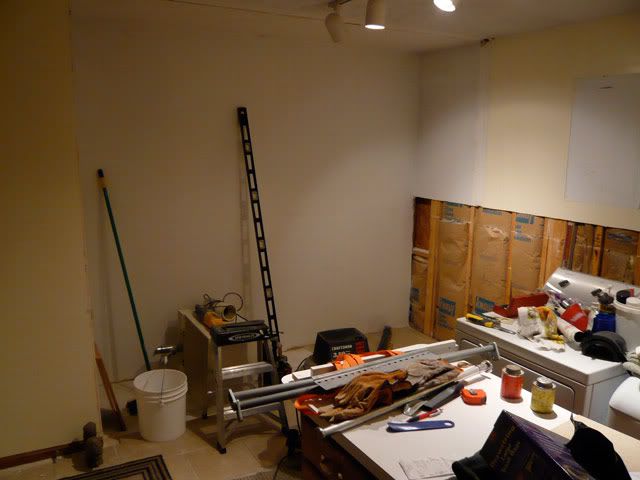
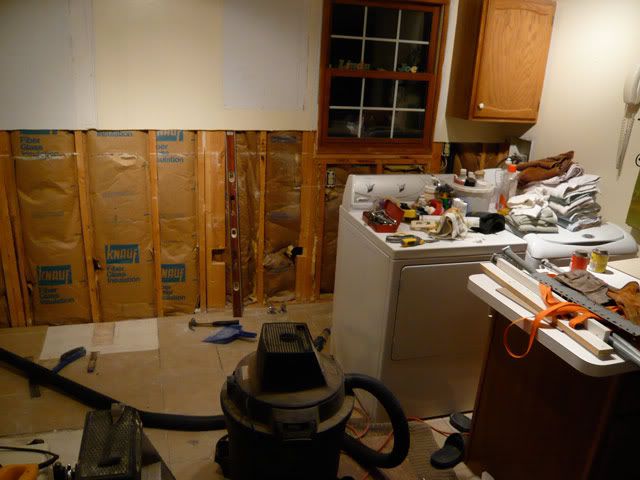
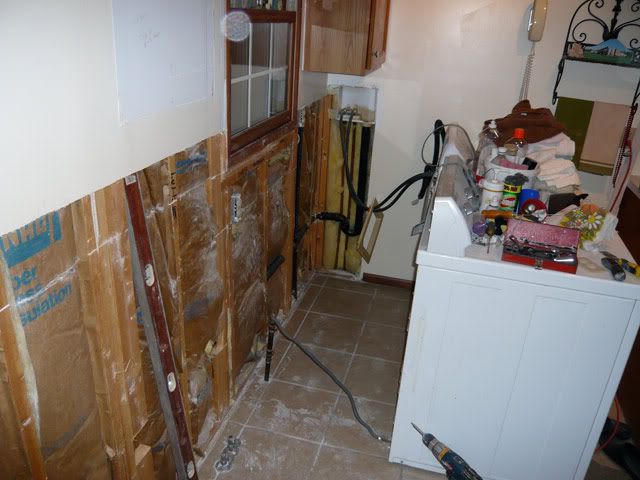
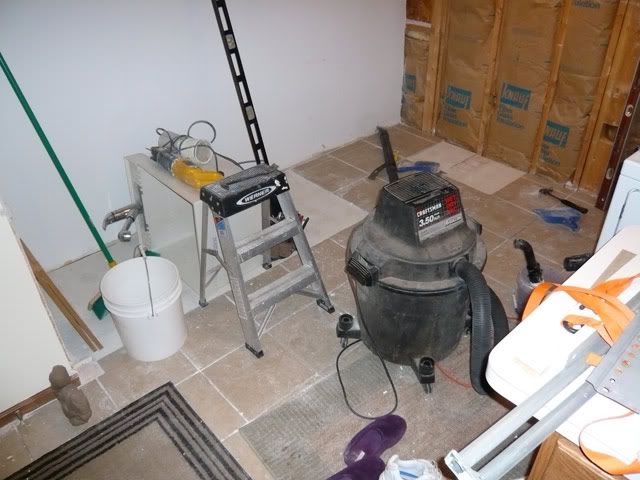
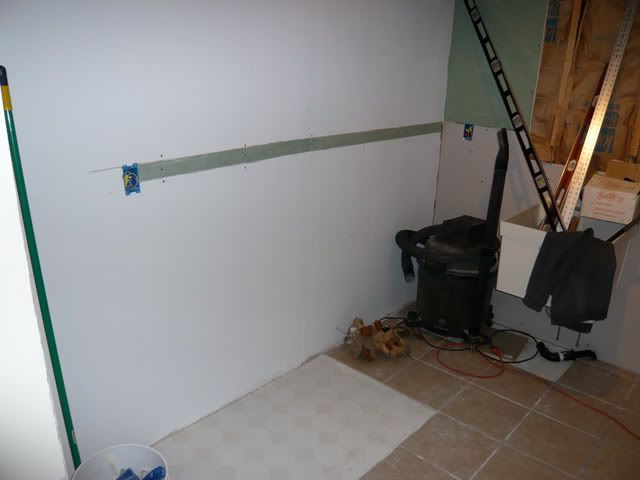
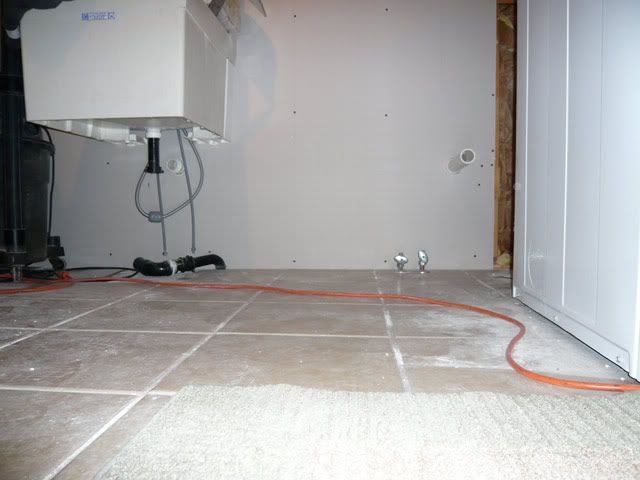
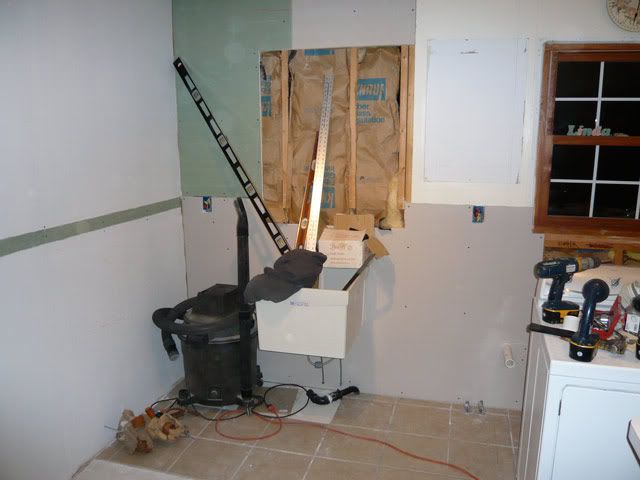
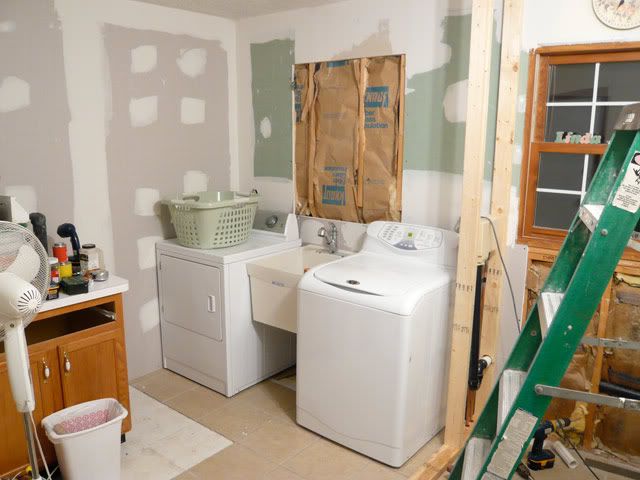
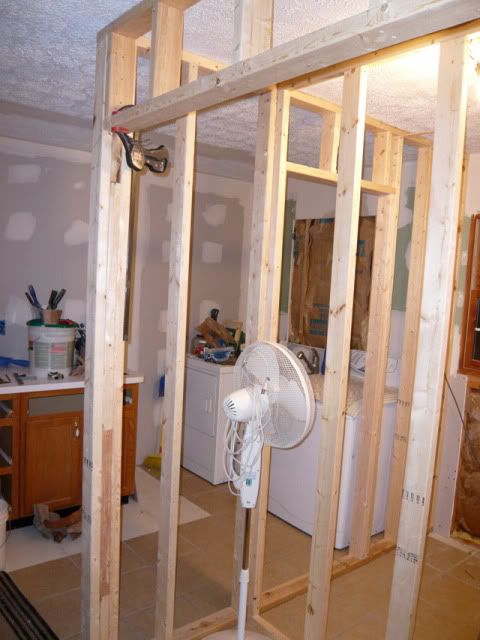
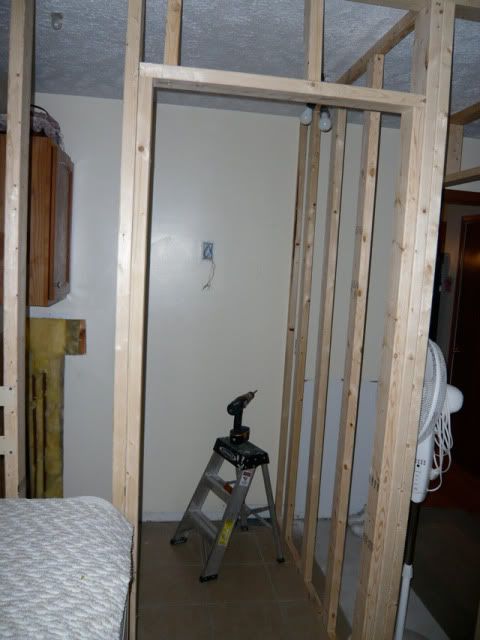
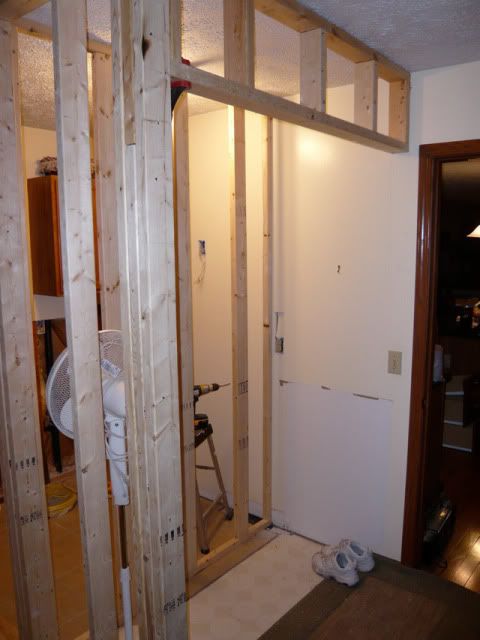
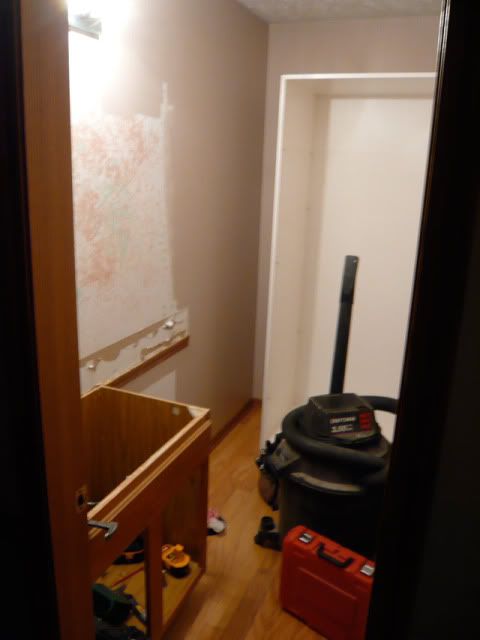
So, the other day DW says to me that she has an idea, and asked me to pop it in the computer to see if it would work. She wanted to move the half bath into the laundry room, reconfigure the entire laundry room (almost 12' square), then turn the half bath into a walk-in pantry. I immediately said that it would work, but I would put it in AutoCAD so we had a working plan. Here's what we are going to do. Now I have to start removing everything from this room so I can start the demolition and build the new walls. Click on the link below to see the plans in a PDF file.
The half bath is situated between the kitchen and dining room, and it's smack dab in the middle of where everyone has always congregated. It could not be in a worse place, IMO.
So, the other day DW says to me that she has an idea, and asked me to pop it in the computer to see if it would work. She wanted to move the half bath into the laundry room, reconfigure the entire laundry room (almost 12' square), then turn the half bath into a walk-in pantry. I immediately said that it would work, but I would put it in AutoCAD so we had a working plan. Here's what we are going to do. Now I have to start removing everything from this room so I can start the demolition and build the new walls. Click on the link below to see the plans in a PDF file.
Attachments
Last edited: